
As a Business Results Specialist, I help companies get more leads, better leads, and generally be more productive, strategic, and successful. Sometimes I initiate the conversion through our proven process for email outreach.
Then I had problems with email deliverability.
I know because I tested it. So, I made some updates and now my open rates are continually increasing.
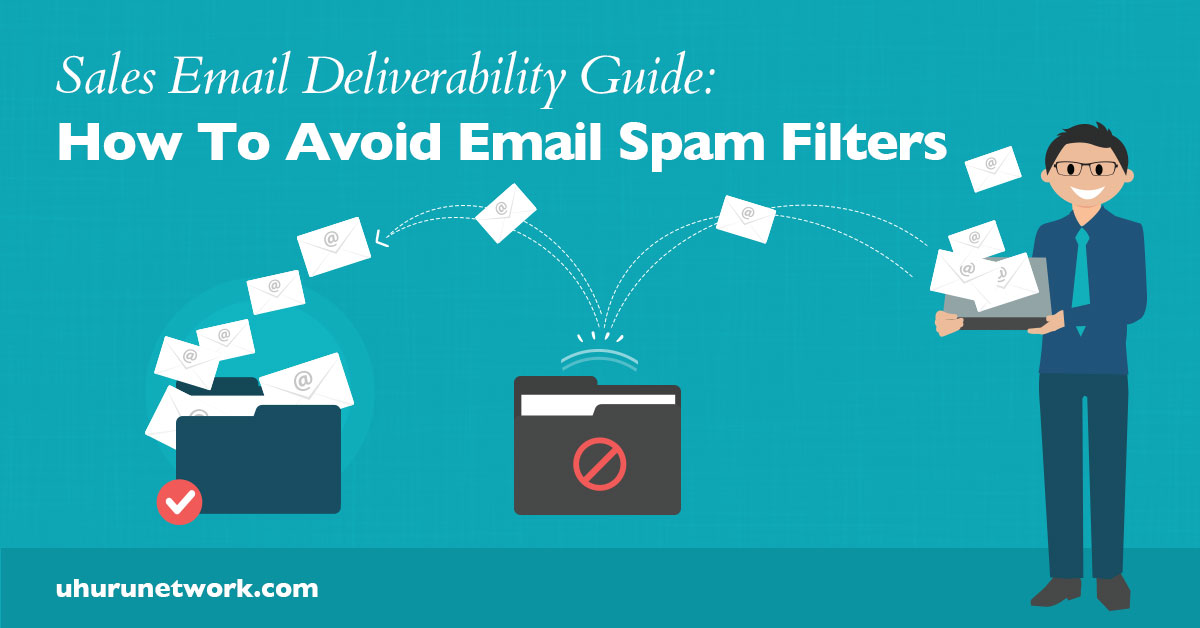
If you’re in Sales or Marketing and are leveraging email software to engage with prospects, how do you know your unopened emails are even reaching your prospects’ inboxes?
If your prospects aren’t receiving your emails, your outreach is a waste of time, money, and effort.
You may be experiencing this problem and not even know it. So, I’m going to walk you through how you can test your email deliverability, fix common issues, and employ best practices so that you have the best possible open rates.
Email Deliverability Test
There are email best practices that you’ll want to deploy, and I’ll walk you through them in this article. But first, you’ll want to check your email deliverability and generate some actionable insights.
You’ve probably done your homework on email subject lines, making sure you have a compelling offer (if you’re not sure on the offer, you’re first going to want to read my article on getting a prospect to open your sales email), and ensuring your emails don’t have too many images. But there are so many more levers to pull when it comes to increasing email deliverability.
Mail-tester is a free online service that tests various things related to whether your emails end up in the desired inbox or caught in the net of a spam filter. It measures the content of your message, sure, but it also looks at other things, like the health of your email address and how your domain is set up.
As we dive in and test your email, you’ll want to keep all the variables the same as your actual outreach; for example, send the same email you normally send using the same email address and tools you normally do, whether that’s a marketing automation system or an outbound sales prospecting tool.
How to Test Your Email
- Go to mail-tester.com
- Send the email you want to test to the email address provided. It will look like this: test-976wp@mail-tester.com
- When your email is sent, wait about 5 minutes then go back to mail-tester.com and click “Then Check Your Score”
Remember to send the same email using the same tools and process you typically would. If you’re using marketing automation or a sales prospecting email tool, you’ll have to upload or create a test Contact or Prospect to properly test your email.
Interpreting Your Email Deliverability Test Results
There are many contributing factors to your score and it only represents general email deliverability health. So, don’t get too bogged down in unimportant details.
For example, images in the message body are going to influence your test score, but if the only image is a tracking pixel, it won’t necessarily influence deliverability rates.
You’ll see that your score is lowered if your message contains HTML, if you have external images (even for a tracking pixel), if your image doesn’t contain an alt attribute (tip: no tracking pixel should contain an alt attribute, so don’t worry about that), and if your message contains a “low” percentage of text. Since our initial outreach email contains only one compelling sentence, the percentage of text didn’t interest me.
But there are some other helpful pieces of information that I was able to glean from the test. For me, my SPF wasn’t valid, and I didn’t have a DMARC record…more on that later.
The best thing for you to do is to read through your results and take note of the areas you can improve on and that you have control over.
If you’re listed on any blacklists, don’t panic. It’s very common and my guess is that you’re probably listed on at least three. Just click on the blacklist name and look for information on how to be removed.
Now that you have some information on the obstacles in your way, let’s get to work on removing them.
Typical Email Deliverability Issues and Solutions
There are many reasons your emails might end up caught in a spam filter. The best approach for maximum email deliverability is to ensure you’re set up for success by following best practices and testing regularly.
Here are the most common areas in which senders typically have issues. You’ll want to ensure you’re set up correctly and fix any problems highlighted in your email test.
DNS Setup
This can get technical fast, so we’re going to keep it simple.
You’re going to want to check your DNS setup and see if anything needs to be resolved. If you need help to fix the issues, pull in the person responsible for the setup of your domain and hosting for assistance.
For Gmail users, enter your domain into this tool and click “Run Checks.”
All non-Gmail users, enter your domain into this tool and click “MX Lookup.” Once the results load, click “Find Problems.”
For both systems above, anything marked in red should be a higher priority than issues marked in yellow. MXToolbox, however, lists blacklists in red—if you happen to test using MXToolbox as a Gmail user, just remember that all Gmail users are listed in at least three blacklists so don’t let this throw you.
If you’re not sure who your email provider is, you can look it up with this tool. As you can see, I entered our domain (uhurunetwork.com) and generated the following information:

Find the MX type indicating the MX (Mail Exchange) record, and to the right, you’ll see your email provider. In our case, it’s Gmail.
Sender Policy Framework (SPF)
I would classify SPF as a high priority. This is one item mail-tester brought to my attention and I jumped on it. You should, too.
A receiving email server uses the SPF to cross-check the domain name against its associated IP address to make sure it’s authentic, increasing the probability that your emails will be received and not rejected.
Not having an SPF record doesn’t just make you less trustworthy in the eyes of receiving email servers, but it also makes it possible for unauthorized senders to send emails in your name. This can negatively affect your reputation and even get you on more of those nasty blacklists.
For complete details on setting up and publishing an SPF record, visit the SPF record homepage here.
There are also SPF Wizards that will generate an SPF record while suggesting recommended settings; but, remember, once your record is generated, you’ll need to publish it using your hosting provider’s administration panel.
Now is the perfect time to pull in that trusty person who set up your domain and hosting.
They will need to set up your SPF record so that all of the email servers you’re using to send emails are listed there. Once that’s done, you can validate your SPF records using a tool like MXToolbox, but it can take up to 24 hours to show after an update.
DKIM
DomainKeys Identified Mail, or DKIM, is another email authentication method. It allows you as a sender to associate your email with your domain. This allows the receiver to confirm that your email, which claims to have originated from your domain, has indeed been authorized by the owner of your domain.
Phishing messages and spam often use forged sender email addresses—shady characters sending emails in your name. Without DKIM, the receiver of your email can’t be sure you’re not just another phishing scam or that your email hasn’t been modified in transit. So, make it easy on your recipients and set up DKIM!
DKIM uses cryptographic authentication, where there’s a private key (a snippet of code) on your emails and a public key as a part of your DNS record. All of this acts as a digital signature. The public key verifies that the email is associated with the domain. If you’d like to learn more about how it all works, this Wikipedia article on DKIM is a good overview, and the DKIM homepage has more detail and instructions.
Setting Up DKIM
- Generate both public and private keys. There are many different tools out there you can use for this. For example, the DKIM Core key generator, but be cognizant and careful of any security risks associated with how you generate keys (1024-bit or 2048-bit keys are recommended).
- Publish the public key in your DNS records. Check to see if your hosting provider offers a wizard for publishing the DKIM record quickly and easily.
- Lastly, set up your email server so that it generates and adds the digital signature to your emails (this will be done based on the private key). Your third-party email provider will have instructions for how to do this, but if you’re running your own SMTP server, you’ll need to follow instructions for that server.
As usual, pull in the person in charge of setting up your domains, hosting, and email accounts to set up DKIM in your domain and email accounts.
DMARC
Domain-Based Message Authentication Reporting and Conformance (DMARC) is an open protocol that uses SPF and DKIM to prevent phishing attacks and spam.
Both SPF and DKIM help in different ways to validate emails, but often they’re missing an important component to be successful—increased communication between senders and receivers. With DKIM, receivers share with senders information about their mail authentication setup, while senders give receivers instructions on what to do when an email message isn’t successfully authenticated.
For a good overview on DMARC, visit Wikipedia’s DMARC article and Dmarc.org for further details and instructions.
Setting up DMARC
Since DMARC uses SPF and DKIM, before you set up DMARC, it’s important that you’ve successfully set up both SPF and DKIM.
Once SPF and DKIM are set up, publish the DMARC policy as a part of your DNS record. As with SPF and DKIM, your hosting provider most likely offers a wizard that will allow you to quickly and easily generate and publish a DMARC record.
In your DMARC setup, you can include receiving daily reports from all of the participating email providers that will show you how often messages are authenticated, how often invalid messages are received, and any DMARC policy actions that are triggered.
Updating your actual DMARC policy—e.g., changing your policy from monitor (“none”) to “quarantine” or “reject”—should be based on what you learn from the daily reports. It’s wise to deploy a quarantine or reject policy slowly—for example, 1-5%—and increase over time.
You can also generate your DMARC record with tools like Dmarcian. If you’re a G Suite user like us, see their helpful article on Adding a DMARC record.
And it’s worth saying again: Pull in the person in charge of setting up your domains, hosting, and email accounts to help set up your DMARC record.
CNAME
A Canonical Name (CNAME) record is a DNS record that directs an alias or subdomain to another domain. Typically, an A record is set up (e.g., example.com) that points to the server IP address. Then, a CNAME record can be established (e.g., www.example.com) that points to example.com.
Where does CNAME come into play with email deliverability? In our case, we use an email tool for prospecting outreach and this tool uses a tracking link to track opens and clicks. But it’s a long, ugly link.
In order to customize our emails and distinguish ourselves from other customers using the same email prospecting tool, we set up a custom subdomain to be used in all tracking links (this replaces the long, ugly link). We added a CNAME record in our DNS settings that forwards the traffic from the subdomain we specified to our prospecting tool’s tracking service.
Here’s another example: we might create the subdomain “subdomain.example.com” which would reroute traffic to our email prospecting tool’s servers.
Setting Up a CNAME
If you’re using an email prospecting tool, you’ll want to add a CNAME record, which will include your specified domain to be included in your email tracking links.
How you set up your CNAME will depend on your hosting provider. I’ve included a few of the most common below. If you don’t see your provider below, just do a web search for your provider’s name + CName to find their instructions.
Bluehost
GoDaddy (Since GoDaddy approaches CNAMEs and subdomains different, review this article to help set up your CNAME)
Namecheap
If you’re using an email prospecting tool, after you’ve created your CNAME record and configured it in your DNS records, you’ll want to check with your email prospecting provider as to how to verify and connect it to their system.
Blacklists
I suggest running regular tests using mail-tester to keep an eye on performance. If you’ve set up your SPF, DKIM, DMARC, and CNAME, you should see improvement in your email deliverability KPIs.
Keep an eye on your open rate. If you’re prospecting, you’ll want to shoot for an open rate of over 10%. In my opinion, your open rate should be closer to 60%, which still wouldn’t mean you’re in the clear regarding email deliverability. Don’t wait until your open rate is in the pits—it’s a waste of money, time, and effort.
If you’re prospecting, you’ll want to look at your bounce rate. This can also inform why your open rate might seem low. To calculate your bounce rate, take the total number of emails that bounced over a specific time period and divide it by the total number of emails you sent of that same period. This number can be higher or lower depending on where you get your list, but if it’s over 20%, you’ve got a problem.
If you end up on blacklists, go to the blacklists’ websites to research how to be removed. Removal methods are usually self-service or time-based; e.g., it might be enough to wait two weeks. If you find your domain on a blacklist, don’t panic! Remember, there are also whitelists. Appearing on a whitelist shows that your domain is trustworthy.
Next Steps
I was plugging away with my sales outreach and not giving it much thought when I started to have issues with email deliverability.
The above steps are exactly what we used to solve the problem, and you can use them to ensure that more of your emails end up in the inbox of your intended recipients, too.
If you haven’t already, whether you’re emailing using marketing automation, a sales prospecting tool, or you’re just sending emails using Gmail, test your email health and deliverability using mail-tester and take action on the results.
Get together with the person in your organization who set up your domains, hosting, and email accounts to ensure you’ve set up your DNS with the appropriate infrastructure for email deliverability success. And keep an eye on your KPIs, including open and bounce rates.
If you’re providing real value to people each day, increasing email deliverability ensures you’re able to make the biggest difference possible. So, set yourself up for success and have fun providing value to your market.